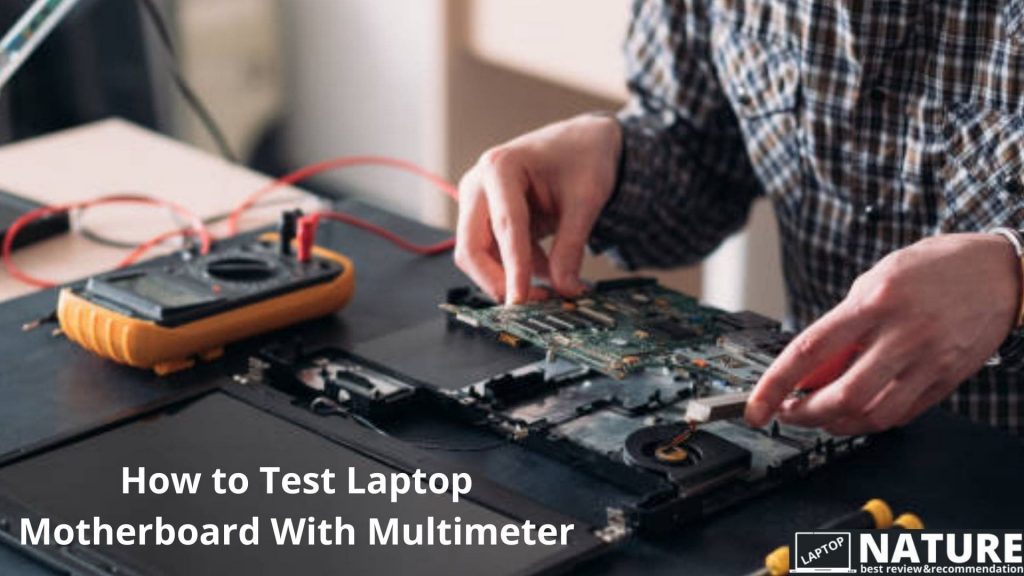
You will find everything about How to Test Laptop Motherboard With Multimeter in this guide. The motherboard is the mother of all boards!
It is the computer’s backbone, connecting the computer’s components at a single point and enabling them to communicate. Without it, none of the computer parts, including the GPU, CPU, or hard drive, would communicate. Computers cannot function properly without a fully functioning motherboard.
The circuitry is designed to function without wires. The motherboard will need to be tested from time to time as part of troubleshooting. Multimeters are useful in these situations.
Testing is made easier by this device, especially when there is a problem. Owning an electronic device or a system requires troubleshooting. A multimeter is an indispensable tool in this process.
How to Test Laptop Motherboard With Multimeter?
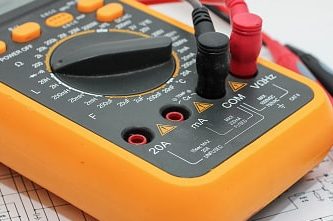
If you are not familiar with how to use a multimeter, please read this article. after that, you can start reading how to test laptop motherboard with multimeter. Let’s begin, follow the steps below.
Testing DC Voltages
Step one
Make sure the multimeter is set at 20V DC. Connect the black multimeter sample to pin 15, 16, or 17 and taste the back of the connector. (GND pins). Ensure the 20-pin ATX connector is inserted and that the computer is connected to AC power.
Set the multimeter to 20V DC. Set the black multimeter probe in contact with pin 15, 16, or 17 (GND pins) on the backside of the connector.
Step two
Make sure the voltage at pin 9 (purple, VSB) is 5 volts and at pin 14 (green, PS On) should be between 3 and 5 volts (anything else indicates the PSU has a fault).
You should see the PS On value fall to zero after pressing the power switch. A faulty switch is indicated by other readings.
Step three
The red probe should be used to check Pin 8 (gray, Power_OK), which should be above 2.5 V. A reading above 2.5 V indicates that the computer is ready to start. When you press reset, Power_OK should drop to 0 and climb back up again.
Testing the PSU and Motherboard for Short/Open Circuits
Step one
Disconnect the computer from AC power and wait a few minutes until any excess charge has drained. The multimeter should be set at the lowest Ohm setting (around 200) and the probes should be touched together to zero it. The zero reading should be the same when the leads are touched to the bare metal of the computer’s chassis.
Step two
Disconnect the ATX connector carefully from the motherboard. The black probe should be placed on the metal of the chassis and the red lead should be used to check the A/C ground on the PSU and the black wire pins on the DC connector. They should read zero.
Step three
Use the red probe to check the values of the colored wire pins on the D/C connector with the black lead on the chassis. The colored wires must all give readings of 50 or more.
Step four
Take the CPU out of the motherboard socket. The connector’s pin numbers can be found using the ATX 20-pin chart. The black lead should be left on the chassis, and the red on the motherboard connector can be used to test the GND pins: pins 3, 5, 7, 13, 15, 16, and 17 should all be zero. All other readings indicate a possible faulty connector.
How to test a Laptop CPU & Motherboard for failures?
The main function of this inspection is to visually examine the motherboard. Most motherboard problems or disappointments are related to swelling or blown condensers.
Every condenser should be examined for swelling or spills at the top end, which are indications the condenser has blown. A swelling or blown condenser is tracked. PC motherboard problems are probably caused by it. The hard drive may give you hints of faults, such as blue screens or missing files. Unexpectedly, a motherboard may stop working.
- You should visually check the CPU after removing it from your PC.
- After the CPU has been removed.
- You may detect bowed pins as a background embedded in the motherboard.
- If you track a bowed pin, perhaps this causes CPU and PC problems.
What is the best way to detect if my CPU is damaged?
When you turn the power on, a computer with a damaged CPU will not go through the normal “boot-up” process. Although you may hear the fans running and the disk drive spinning, the screen may remain blank. The PC will not respond to any key press or mouse click. Since the CPU is a relatively small unit, it can either work or it won’t. However, in some cases, a bad CPU can result in a “blue screen” featuring white letters on a blue background. When you first turn on your computer, or as you are working, you may notice the blue screen.
Beeping
It is part of your computer’s Basic Input-Output System that, among other things, checks your PC when it’s turned on. The BIOS produces a series of coded beeps when it detects severe hardware problems, and the number of beeps indicates the type of issue. If the CPU is bad, the AMI BIOS will beep five or seven times.
Overheating
Due to overheating, a CPU may experience temporary problems; in this case, the damage is not permanent. CPUs generally generate enough heat that they need cooling fans to prevent overheating; if the fans suffer from dust accumulation or other problems, you might see blue screens and other erratic behavior from your PC. The CPU can be destroyed by prolonged overheating, so if you suspect a bad fan, get it fixed immediately. Check out how to fix overheating laptop without taking it apart and how to change CPU fan speed without BIOS if you have a heating issue.
Some FAQs on How to Test Laptop Motherboard With Multimeter
What is the lifespan of a motherboard?
In general, the lifespan of a standard PC motherboard can range from a few months to decades. It is most commonly expected to last between ten and twenty years. You should avoid causing your hardware to die in order to preserve your motherboard.
Is a laptop motherboard repairable?
Your laptop may not turn on at all because of a defective motherboard. However, motherboards can in many cases be repaired. The motherboard can be replaced without changing other components in other instances, saving a great deal of money.
What causes a motherboard to fail?
Damage to a motherboard could result from a defective CPU. Yes, that is correct. Several things could be blown if its ground were short.
Can a bad CPU kill a motherboard?
Damage to a motherboard could result from a defective CPU. Yes, that is correct. Several things could be blown if its ground were short.
Conclusion
Multimeter motherboard testing may seem overwhelming, but it’s not as difficult as you might think. In this article, we explain How to Test Laptop Motherboard With Multimeter in only a few simple steps. The procedure is very straightforward. Whether your motherboard is flawless or whether there are errors on it, you’ll know right away.